Workspace Types
Workspace types help you reduce the effort of configuring a large number of workspaces or projects. Workspaces inherit their configuration from the associated workspace type. By configuring a workspace type, you configure all the workspaces that you have associated with that type.
To a large extent, workspace types determine the configuration of the workspaces or projects based on them. For example, if you work in embedded systems development or develop electromechanical systems, you might have one workspace type for the electronics part, one for the mechanical part, and one for the software. For the mechanical part, you don’t need any releases at all, for the electronic boards, two lab sample releases and one pilot production release are sufficient, while for the software you need a whole number of releases, a product backlog, and sprints.
You can configure the following properties for a workspace type:
Scope Type: Standard, Helpdesk, or Scrum. Select “Standard” unless you want to run a workspace as a helpdesk or make it available for Scrum project management.
Phases and Releases: This is necessary for Scrum projects (releases, sprints, backlogs) and helpful for software projects, where it is possible to distinguish to which release a ticket belongs or with which ticket a bug is fixed.
Version Management: This can be used to connect source code management systems, such as Git, Subversion or CVS. It is especially useful for software projects.
Time and Cost: This allows items (tickets) to be assigned time and monetary expenses, both planned and actual.
Hours per Workday: You can enter the working time per working day. This value will be applied if no other value is set in the workspaces.
In addition, the following settings can be configured:
Which item types are available
Which states are available for each item type
Which priorities are available
Which effects (criticalities) are available
What workspace types are available for child workspaces
What roles are available
Item attributes
Input masks
Workflow assignments
To manage workspace types go to Administration > Customize > Workspace Types.
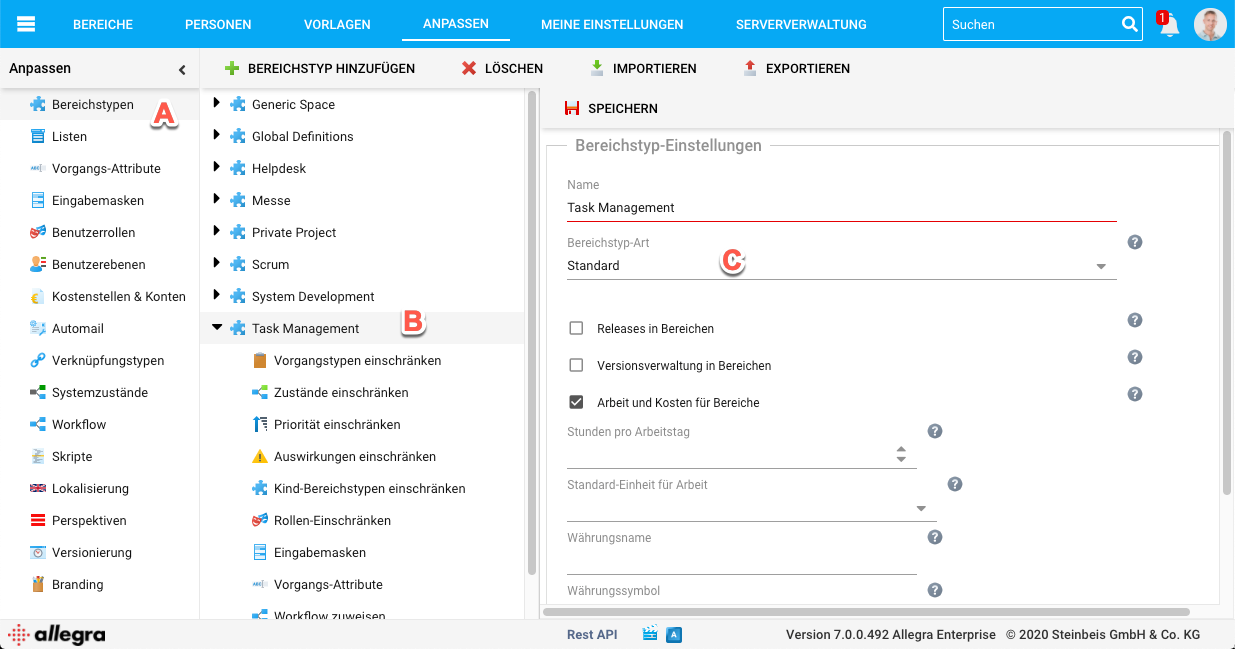
Add a workspace type by clicking on “Add” on the small toolbar. Edit a workspace type by selecting it in the second navigation column from the left (B).
Once you have finished editing, save the changes by clicking the “Save” button on the small toolbar area.
Item types
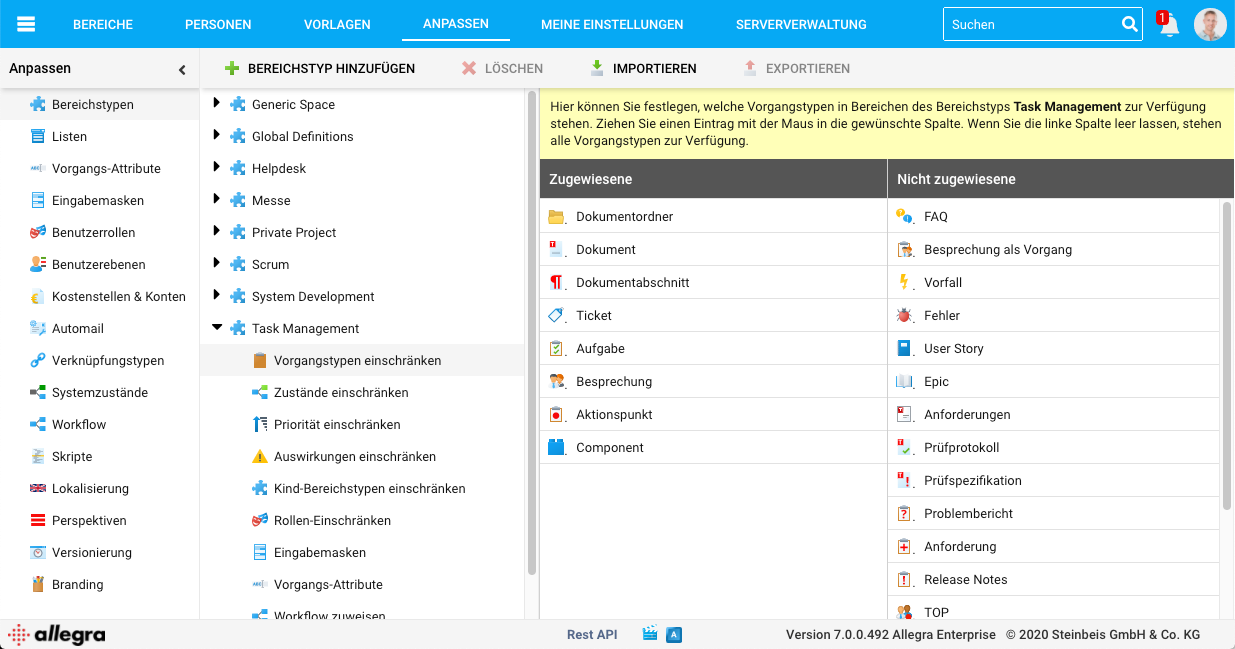
You can assign which of the defined item types are available for workspaces or projects of the selected workspace type.
Drag the item types you want to assign from the right column to the left column. If the left list is empty, all item types are available.
See Manage Item Types for a description of how to add or change item types.
Assign states
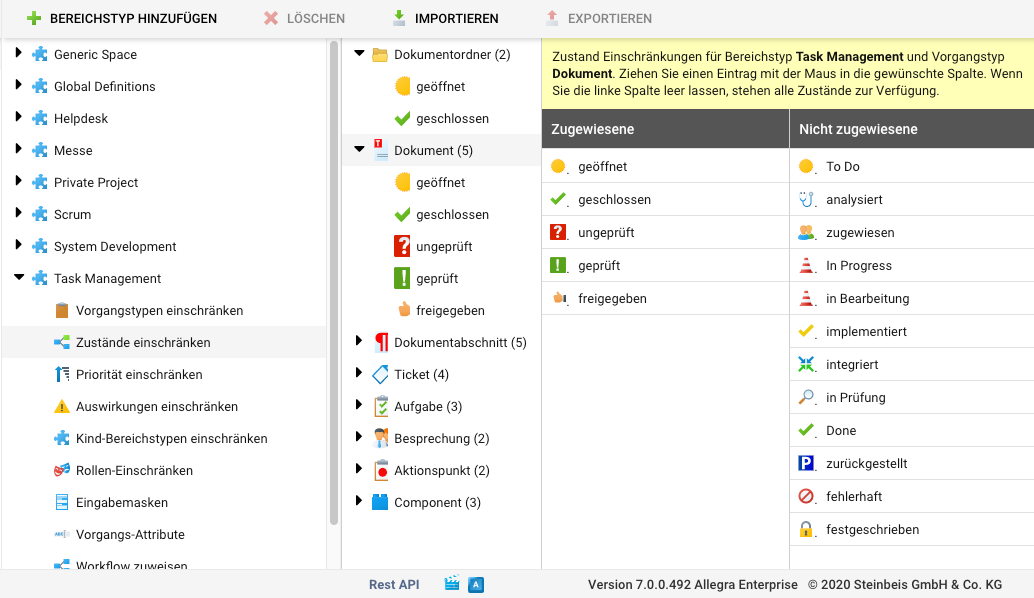
You can assign which of the defined states are available for the different item types in a workspace type. For example, an item of type “Milestone” might require only the states “Open” and “Passed”, while a problem report would require many more states.
It is recommended to get by with as few states as possible. A state is worthwhile if an item can remain in it for a longer period of time or it is important from a workflow point of view to be able to mark a difference.
Drag the states you want to assign from the right column to the left column. If the left list is empty, all states are available.
See Manage Item States for a description of how to add or change states.
Restrict priorities
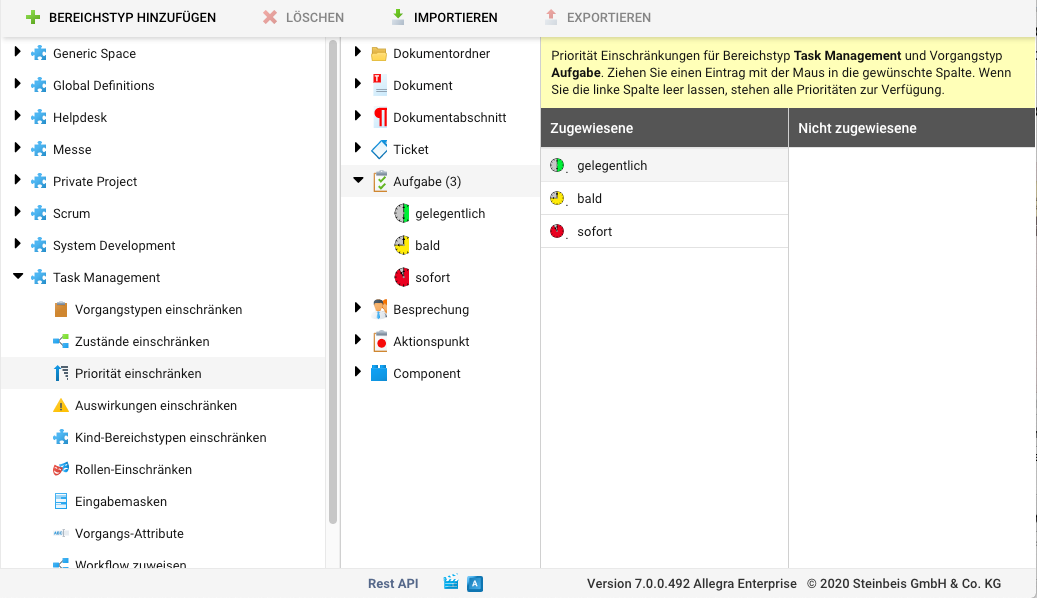
You can assign which priorities are available for items in a workspace type. You can define these for each item type. Drag the priorities that you want to make available from the right-hand column to the left column. If the left-hand list is empty, all priorities are available.
See Manage Priorities for a description of how to add or change priorities.
Limit effects
You can assign which effects are available for items in a workspace type. You can define these for each item type. Drag the effects that you want to make available from the right-hand column to the left column. If the left-hand list is empty, all effects are available.
See Manage Impact for a description of how to add or change effects.
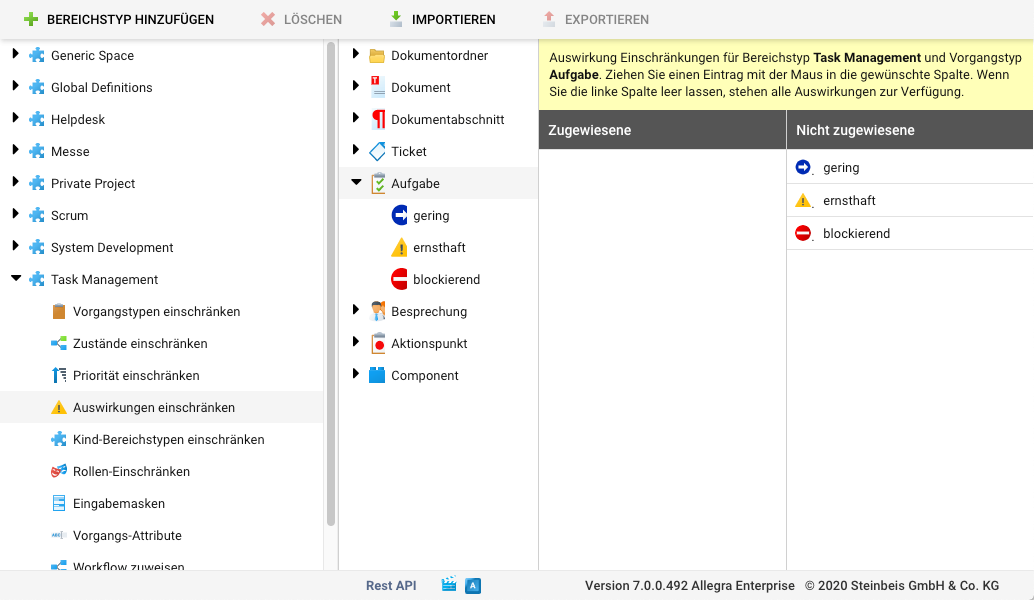
Restrict types of sub-workspaces
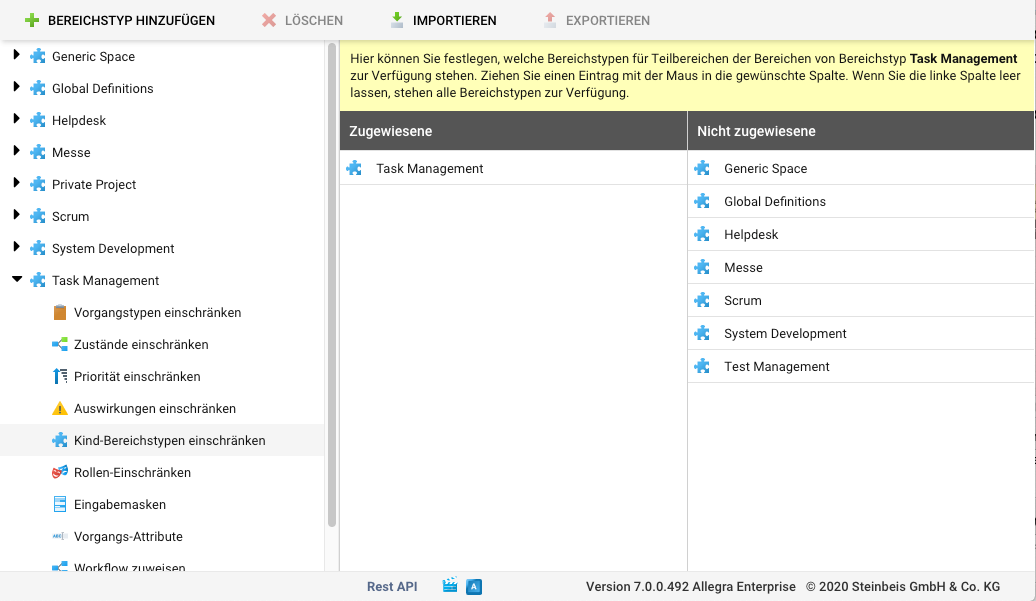
You can assign which workspace types are available for a subordinate workspace for the selected parent workspace type. For example, you can define that for a workspace of the type “Helpdesk” you can only create sub-workspaces of the same type. Drag the workspace types that you want to make available from the right column to the left column. If none are assigned, all workspace types are available.
Item attributes
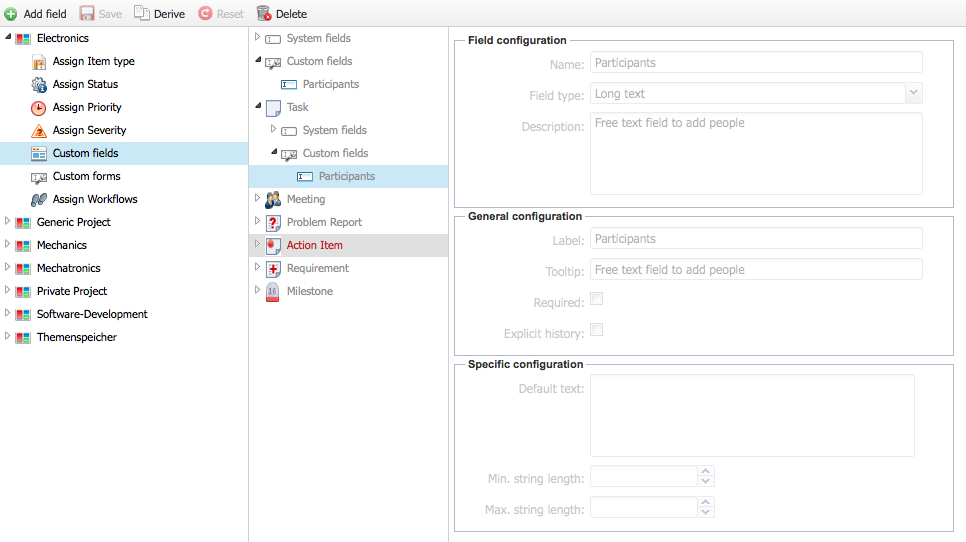
Item attributes are always defined globally. However, you can overwrite the configuration of item attributes for a workspace type, for example, because you want to define workspace type specific selection lists. For the procedure of defining and assigning user-defined properties, see Item Attributes.
Input masks
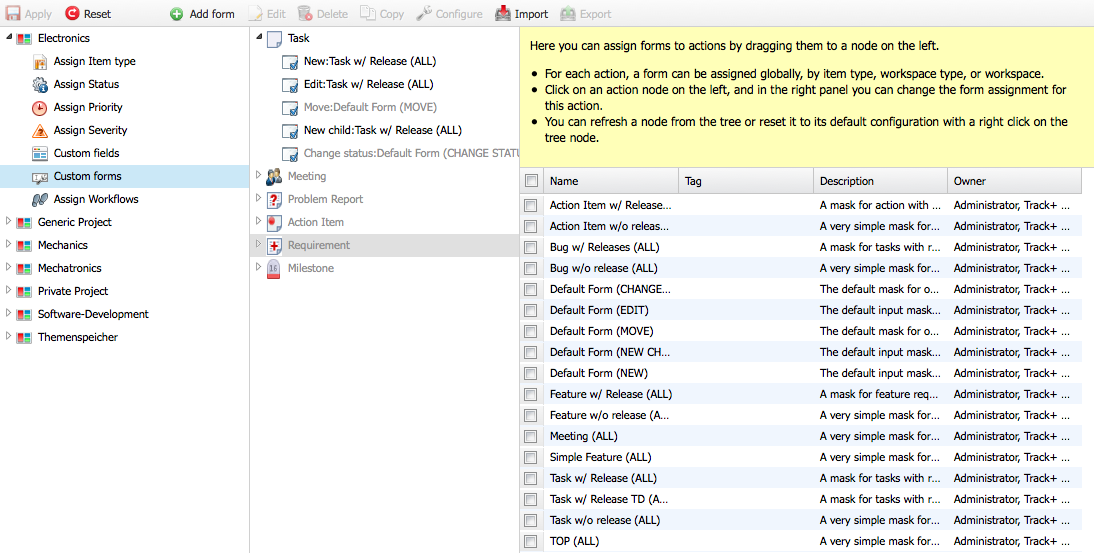
You can define and assign user-defined input forms specifically for the selected workspace type (see Manage Input Forms).
Workflows
You can assign workflows to item types in the selected workspace type (see Workflows).
